

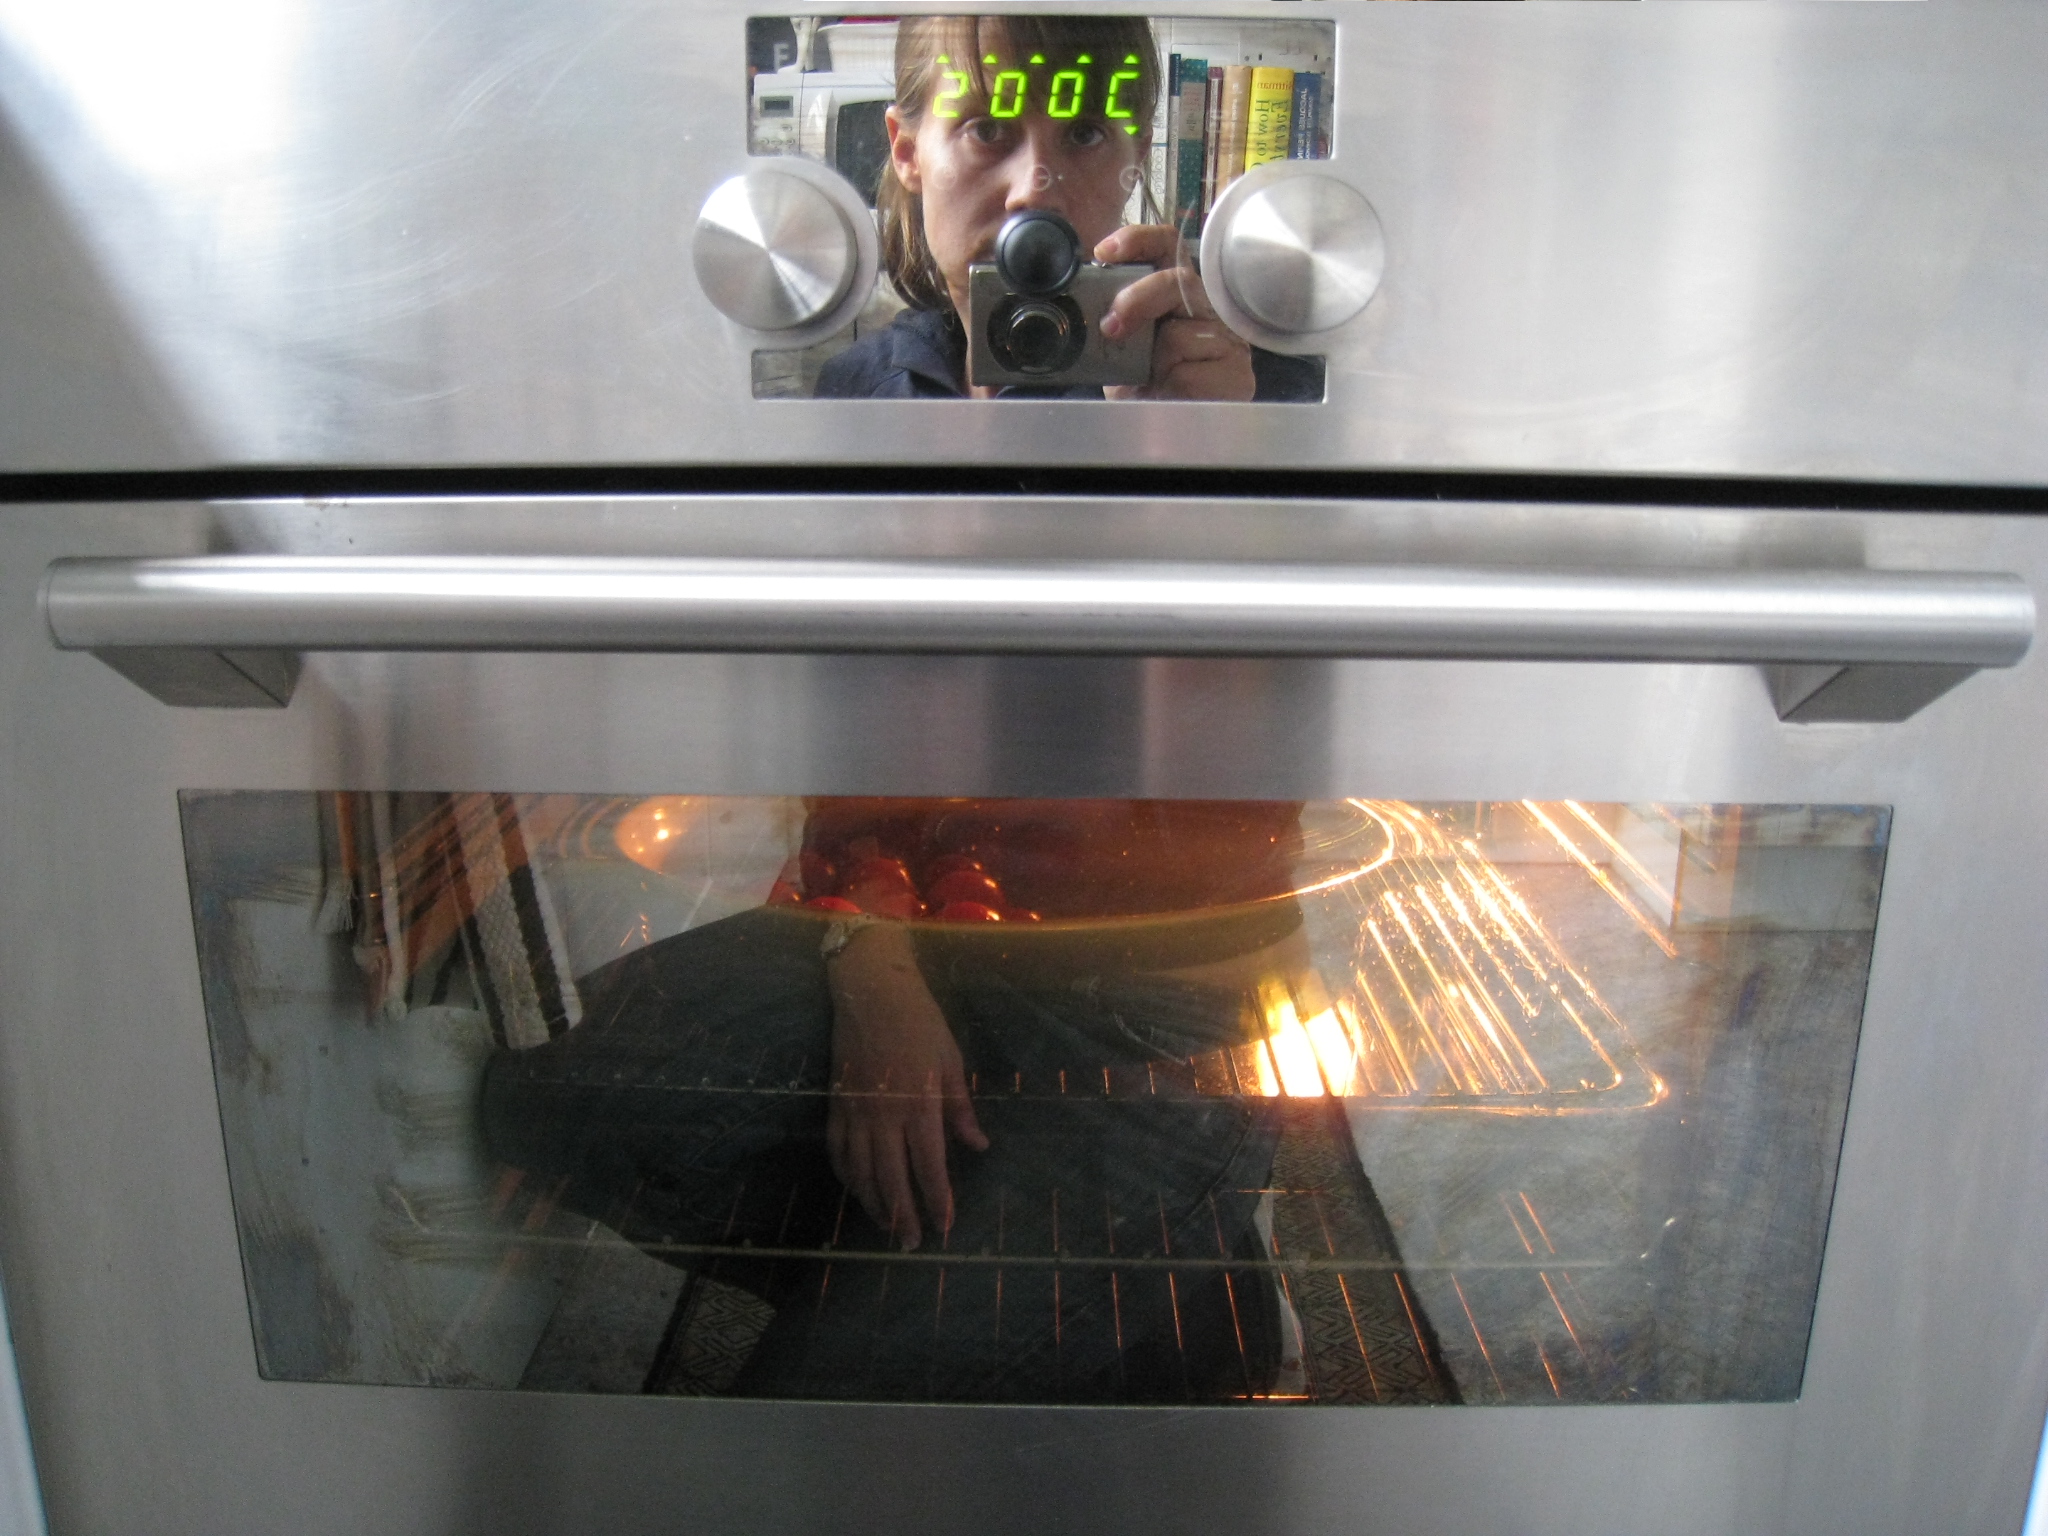
When a recipe that once worked suddenly produces pale cakes, burnt edges, or a roast that is raw in the middle, it is easy to blame the recipe. In many kitchens, however, the real problem is the oven itself. Ovens age, heating elements weaken, thermostats drift, and hot spots develop, so the temperature shown on the dial is not always the temperature inside the cavity. Understanding calibration and uneven baking can turn frustrating results into consistent ones, and it can help you decide whether a simple adjustment will help or whether a part needs attention. Guides on ovendown explain common oven problems in plain language, which makes this kind of diagnosis less intimidating for a first-time checker.
What calibration really means
Calibration is the relationship between the temperature you select and the temperature your oven actually reaches and holds. Most home ovens are not laboratory instruments, so a small difference is normal. A difference of ten or fifteen degrees may barely matter for a casserole, but it can matter a great deal for delicate baking, where rising, setting, and browning all depend on steady heat. Over time, a thermostat can drift, a sensor can become coated with grease, or a control board can misread the signal from the sensor. The result is an oven that runs consistently hot, consistently cold, or swings widely during a cycle.
How to test your oven temperature
The most useful tool for this job is an inexpensive oven thermometer that hangs from a rack or stands on it. Place it in the centre of the middle rack, away from the walls and heating elements, and preheat the oven to a common baking temperature such as 180 degrees Celsius. Wait at least twenty minutes after the preheat signal, because many ovens signal readiness before the walls, racks, and air have fully stabilised. Then read the thermometer through the door window if possible, rather than opening the door and letting heat escape.
Repeat the test at a second temperature, for example 200 degrees Celsius, and on another day if you can. A single reading can be misleading, because opening the door, a cold pan, or a draughty kitchen can all affect it. If the thermometer consistently reads about twenty degrees below the set temperature, you have useful information. Some ovens allow a small calibration offset to be entered through the controls, and the manual will explain whether yours does. If yours does not, you can simply adjust the dial by the measured difference, while remembering that the offset may not be exactly the same at every temperature.
Why baking can be uneven
Even a correctly calibrated oven can bake unevenly. Heat does not spread perfectly evenly inside a closed box. The area near a heating element is hotter, the back of the cavity is often hotter than the front, and the rack position changes how much direct and reflected heat the food receives. A dark pan absorbs more heat than a shiny pan, a crowded oven blocks airflow, and opening the door during baking drops the temperature and disturbs the heat pattern. Convection fans help by circulating hot air, but they do not eliminate every hot spot, especially in older models.
A simple bread or biscuit test can reveal your oven’s pattern. Place slices of bread or a tray of identical biscuits evenly across a baking sheet, bake them for a short time, and compare the colour. Darker pieces show the hot spots, and paler pieces show the cooler areas. Once you know the pattern, you can work with it. Rotating the tray halfway through baking, moving a single item to the centre rack, or avoiding the hottest corner can all improve results without any repair at all. It is also worth checking that vents are not blocked by a large tray or by foil, because blocked airflow is a common cause of uneven cooking.
When adjustment is enough and when it is not
If your tests show a small, consistent offset and the oven otherwise heats steadily, a dial adjustment or a control calibration may be enough. Rotating trays and choosing the centre rack may solve uneven browning. Replacing a door seal is often a straightforward job for a confident home cook, provided the correct part is used and the oven is cool and isolated first. Cleaning a sensor gently, without bending it, can also help if grease has built up around it.
Stop and seek professional help if you smell gas, see scorching, sparking, or damaged wiring, or if the oven trips a breaker. Electrical and gas repairs carry real risks, and a faulty thermostat or control board is not a beginner repair. A professional can test the sensor resistance, check the elements under load, and confirm whether the control is at fault. That diagnosis is usually cheaper than replacing parts by guesswork, and it is far safer. For a broader view of when to attempt a fix yourself and when to step back, see the guides at ovendown.org.
A practical routine for better results
Build a short routine around baking. Preheat fully, use an oven thermometer for important bakes, keep the middle rack as your default, and avoid opening the door in the first half of baking. Use light-coloured, good-quality pans for cakes, and leave space around each dish so air can move. Note any consistent offset and adjust for it, and recheck the temperature every few months, especially if results begin to drift again. Small habits like these protect both your food and your confidence in the oven.
Temperature problems are rarely a mystery once you test rather than guess. A thermometer, a biscuit test, and a careful look at the seal and elements will explain most cases of uneven baking. When the problem is a steady offset, you can adapt. When it is a failing part or a safety concern, you know to call for help. Either way, you will be making decisions based on evidence, not on frustration, and your next bake will have a much better chance of turning out exactly as the recipe intended.
